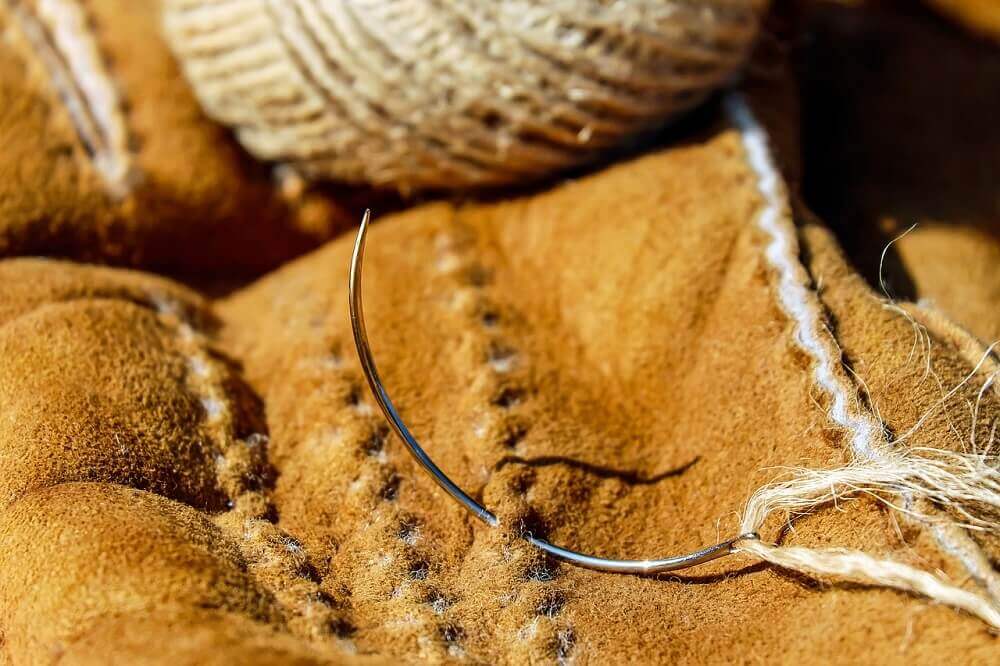
Sooner or later, the things that you use start falling apart. Clothes are no exceptions, and eventually they start to tear, split at the seams, lose buttons, or suffer from other minor forms of damage.
When this happens, a lot of people tend to just throw the item away. However, in most cases you can easily fix the issue with some basic sewing. This allows you to significantly extend the shelf-life of the items, which saves you time, money, and can also help you in situations where you can’t immediately replace the item in question.
This isn’t a guide for people who want to master the art of sewing intricate patterns. Rather, this guide is for people who want to learn, in about 5 minutes, how they can sew and fix stuff that gets damaged. This guide isn’t limited to fixing clothes, and can also help with other items, including anything from backpacks to pillowcases. If you want to learn this simple but useful skill, read on.
Items you will need
Thread- the closer the color of the thread to the color of the item you are sewing, the less noticeable it will be. A single spool of thread costs almost nothing and will last for years.
Sewing needle- the bigger the eye, the easier it will be to thread it. Overall though, size shouldn’t really matter unless it’s so small that you can’t thread it at all, or so large that it makes holes in whatever you’re trying to sew.
Scissors/knife- designated sewing scissors/shears are best, but anything that can cut the thread will work. Don’t use your teeth: it’s bad for them, and they do a bad job at this anyway. Besides, finding something to cut with isn’t that hard.
Pins (optional)- these can be used to hold the fabric in place while you’re sewing. Not crucial in most cases, but useful in some.
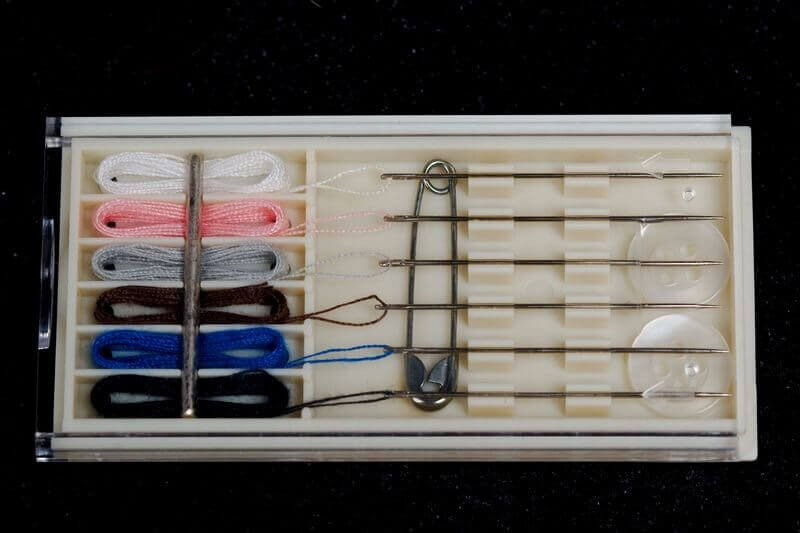
Small tip on getting sewing supplies
A lot of hotels give out, for free, small sewing-kits which contain all of these items (except for scissors). You can stock up on a few extra kits whenever you stay in a hotel.
In fact, you could generally just walk into a hotel and ask for a sewing kit, and you’ll probably get it without any questions asked.
You can also ask them for a disposable razor, and add its blade to your mini sewing kit (after carefully removing it), to ensure you always have something to cut with (though it’s not a very convenient tool to use).
It’s worth it to keep a spare sewing kit in your bag. It barely takes up any space, and you never know when you need it. People almost never think of carrying something like this, so not only is it convenient, but you could also end up saving the day for someone with an unfortunate clothing malfunction.
Setting up the materials
First, you’re going to have to cut the thread to the desired length. A rough estimate is to cut thread about 6 times longer than the length of the stitch you’ll make. When in doubt go with more thread, since you can always trim the excess if necessary (try not to overdo it though).
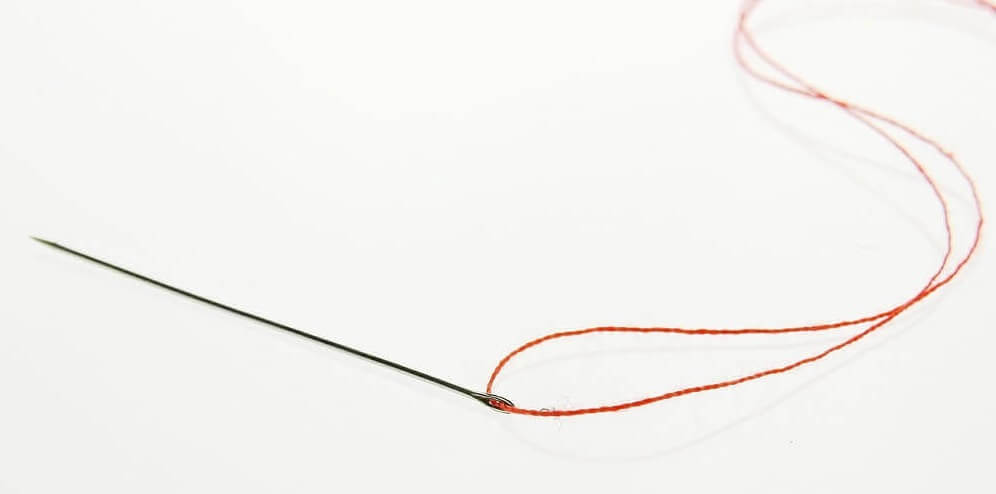
Next, you’re going to thread the needle. Simply pinch the thread near the tip, and lower the needle onto it. Once the string is securely in the eye, pull the rest of it through until the needle is hanging in the middle. Tie the ends of the thread together. If you’re struggling to thread the needle, try the following things:
- Make sure there are no frayed edges that are catching on the edge of the needle’s eye. If there are, trim the end of the thread and try again.
- You can compress the end of the thread by wetting it and/or pressing it hard.
- You can try pushing the string into the needle, as opposed to lowering the needle onto it (some people prefer this method).
- If nothing works, you’re going to have to get a bigger needle, or a sewing kit where the needle comes pre-threaded.
How to sew
Now that you have everything ready, you can start sewing. All stitches generally revolve around the same concept, of pushing the needle across two parts of the fabric, in order to connect them.
The following 3 commonly-used stitches are usually your best bet:
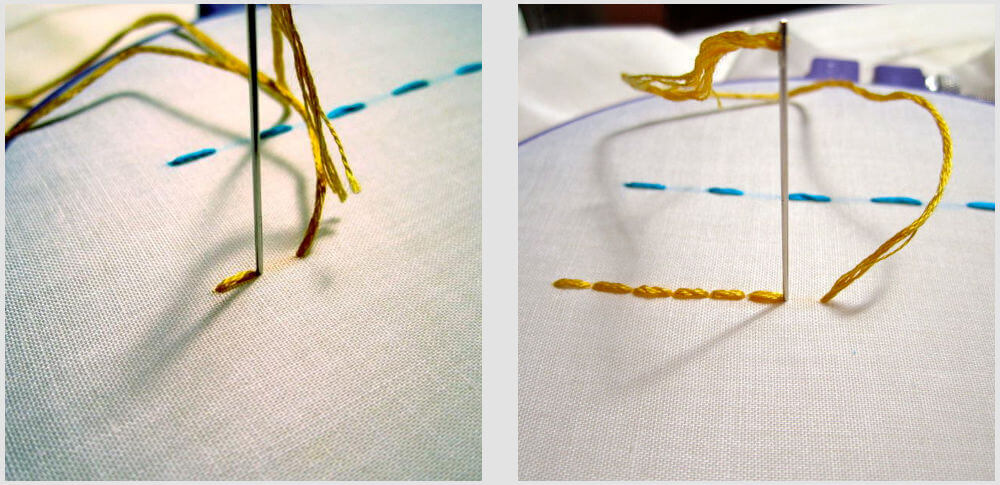
Running stitch- place the two pieces of fabric you’re going to sew over each other to create some overlap. Sew in a straight line from the start of the overlapping section, while passing the needle up and down through the fabric. If you want the stitch to not show too much, you can alternate in terms of how much of the stitch appears on each side of the fabric.
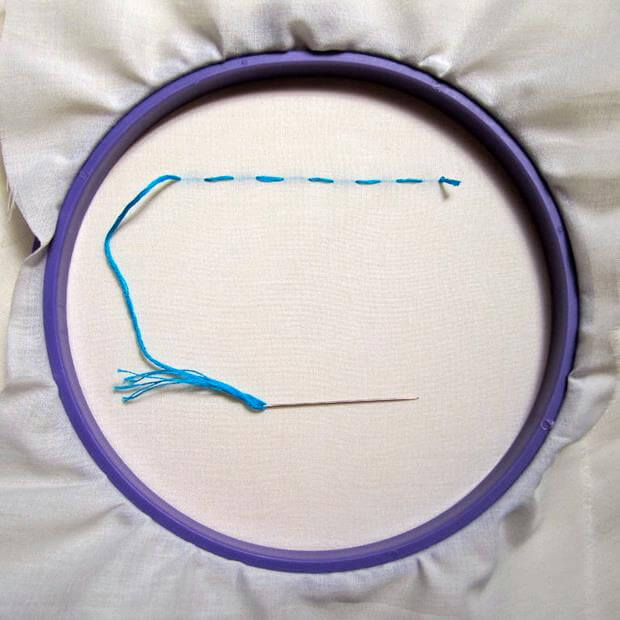
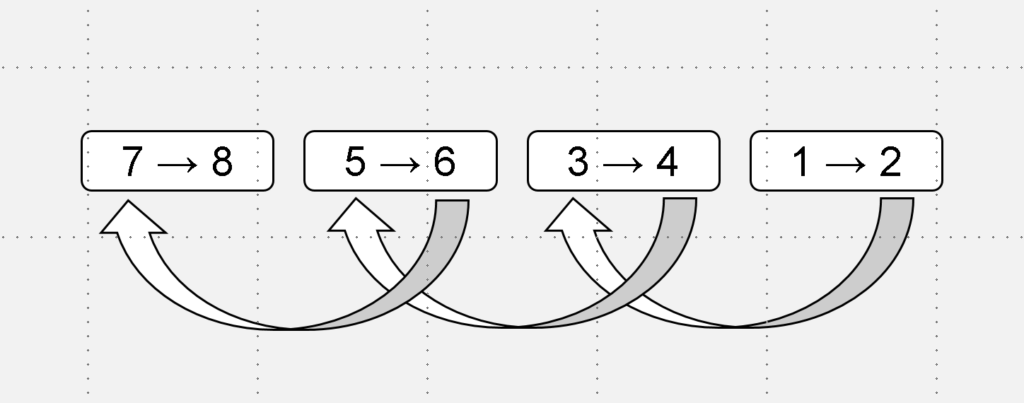
Backstitch- this one is the same as a running stitch, with one change: you produce a full stitch going forward on the bottom side of the fabric, and then a half-length stitch going backward on the top side.
If that doesn’t make sense, try looking at the following diagram. The odd numbers show when the needle is pulled up from below the fabric toward you, while the even numbers show when it’s being pushed down away from you.
Whipstitch- usable mainly when sewing edges of a fabric together. Simply align the two edges, and perform a spiral sewing motion through them.
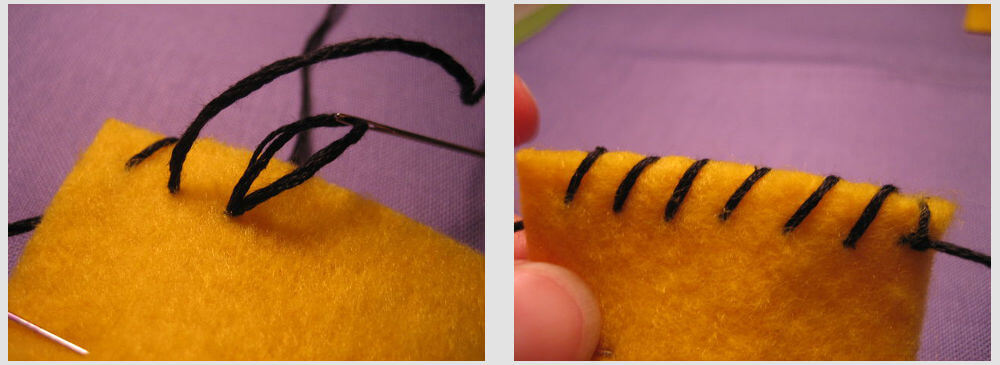
(Variants of this are also referred to as an overlap stitch, but for our purposes the distinction isn’t important).
Things to keep in mind:
- You can either hold the fabrics in place yourself, or use pins to keep them aligned.
- If something is ripped or if there is a split seam, always start sewing a bit before the beginning of the rip, and finish the stitch a bit past it, to prevent it from ripping again.
- When you start sewing, secure the stitch by making a few passes through the fabric at the starting point. When you’re done, do the same at the end of the stitch. Finish by tying a knot near the base of the string, and trim any loose remains.
- Make sure to pull the thread completely through at each pass, without leaving any loose thread behind. However, don’t pull it too tightly, as this could weaken the thread, and distort the fabric.
- The smaller the length of each individual pass, the stronger the stitch will be, but the longer it will take to sew.
- If something is starting to rip, fix it as soon as possible. The longer you wait, the more damaged the material will get, and the more work it will require. In addition, small tears are relatively vulnerable, and can grow into a big one quickly.
Fixing specialized items
The guidelines above are intended to provide you with the basic knowledge that can be used to fix the majority of items.
However, if you need to fix something that requires additional, specialized knowledge, simply search online for a further explanation on how to fix it. This can be helpful for example if you’re looking to learn how to darn a sock, or how to fix a button that fell. Feel free to improvise a bit, as these guides sometimes lean toward the overly-complex side. This is especially true if you’re mostly interested mostly in ensuring that you have a strong stitch, and don’t care too much about how it looks.
The most important thing to remember is that most sewing fixes are pretty straightforward and easy, so don’t be afraid to try and sew things instead of just throwing them away.
Summary and conclusions
- Learning how to sew items that get damaged is easy, and can save you time and money.
- You’ll need a needle, some thread, and something to cut with. Hotels often give out free sewing kits you can use, and it’s worth it to keep a spare one in your bag in case you need it.
- To start, you will first have to thread the needle by lowering the needle’s eye onto the thread. After this is done, tie the edges of the string together.
- Then, you will sew whatever you need to fix using one of a few simple techniques which are explained in the article, such as the running stitch, the backstitch, or the whip stitch.
- The article also lists some other useful advice, regarding how to thread the needle if you’re stuck, how to make sure your stitch is strong, and what to do if you’re trying to fix things that require more specialized knowledge.